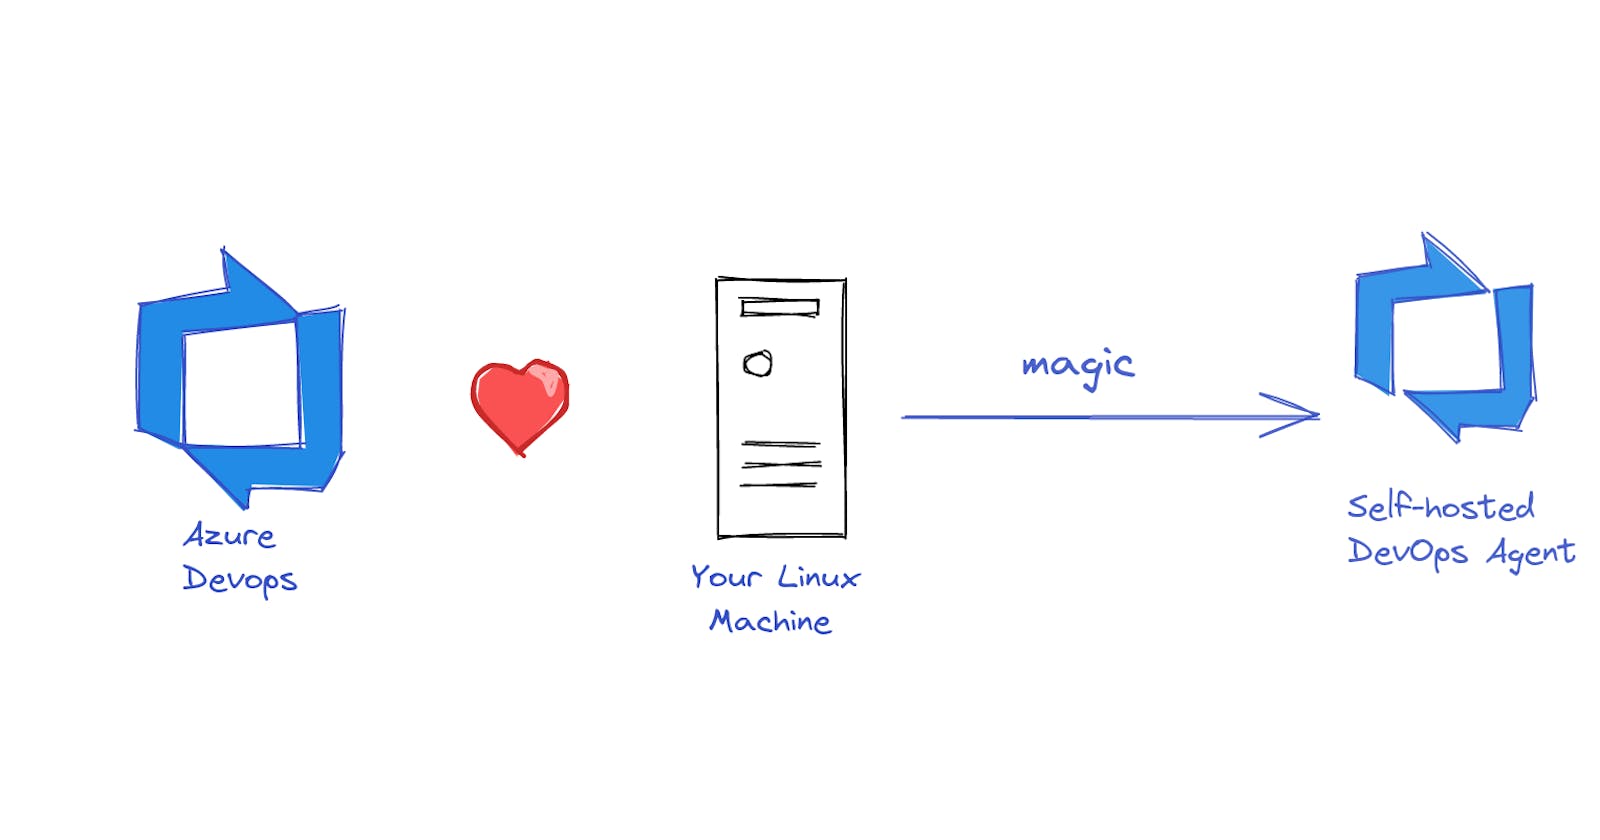
Self-hosted Linux Agent on Azure DevOps in 5 minutes!!
Yes! you don't have to pay for Microsoft hosted Agents or get a new server to work/practice. Use your own Linux machine instead!
If you are like me and you want to learn Azure DevOps, you need a machine to build the code, perform releases etc. But I can't rent a server you say? You don't have to my Friend.
The process is same if you have a VM on Azure, an Azure VMSS or any Linux machine and want to use it as an Agent in your Azure DevOps.
Lets see how we can do that.
Prerequisite:
- A Linux machine
- Azure DevOps account.
1. Setting up the Agent Pool
Go to your Azure DevOps account -> Organization Settings, then Agent Pools in Pipelines
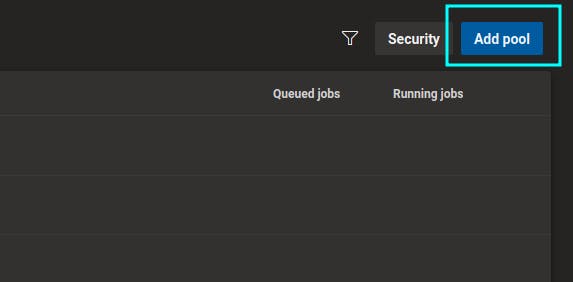
Click on Add Pool
Choose Self-Hosted, and give it a name and description
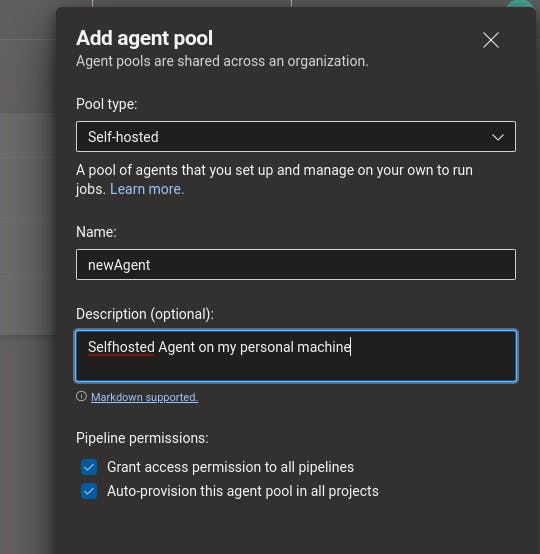
You can choose to grant access permissions to specific pipelines too. Uncheck the option if needed.
Open the created Agent pool and click "Agents" then "New Agent"
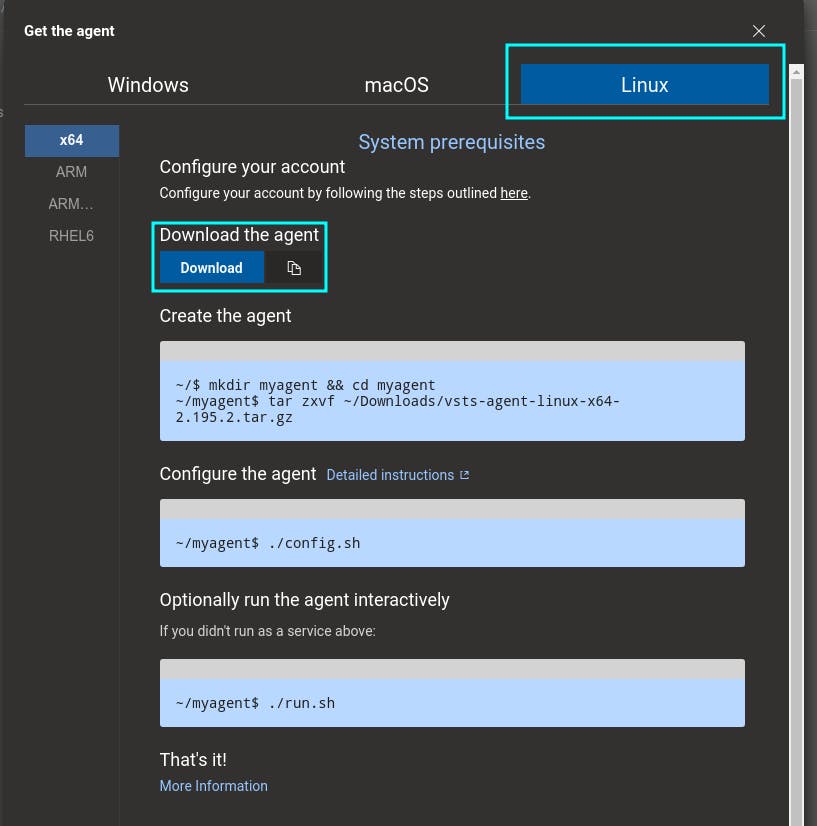
Choose Linux and "x64" which is what many use these days. You can also choose RHEL6 or other ARM architectures if needed
2. Installing the Agent
Check the download location of your file just to be sure. I have mine in Downloads
Change your working directory to Downloads using cd Downloads in your terminal
Then make a new Directory and change directory into it using mkdir myagent && cd myagent
Use tar zxvf ~/Downloads/vsts-agent-linux-x64-2.195.2.tar.gz check the version. Instead you can use the command you are presented by Azure DevOps

Run ./config.sh and Y after you check the Agreement.
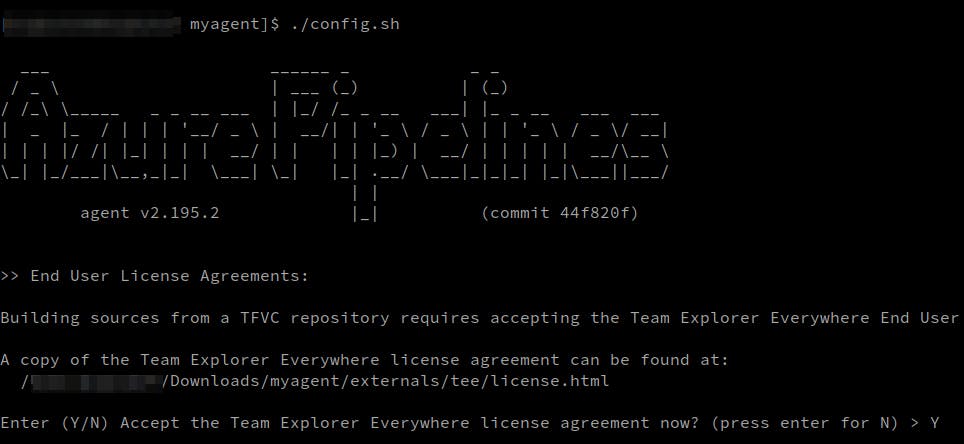
The Server URL is dev.azure.com/YourOrganizationName find it on your Azure DevOps
Press "Enter" as we are going to use the PAT token to authenticate.
3. Generating a PAT token
For the PAT token go to your Azure DevOps Account
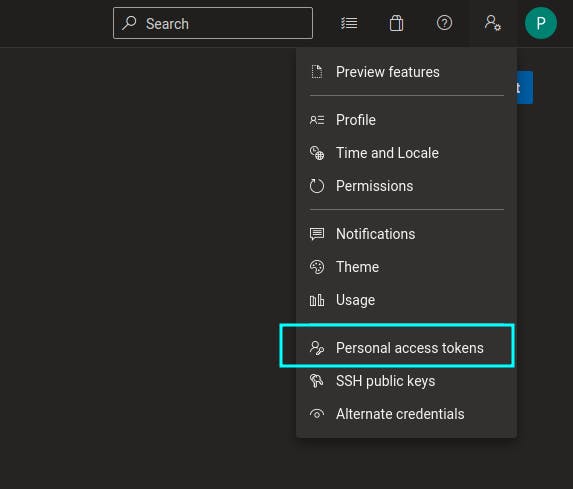 Click "New Token"
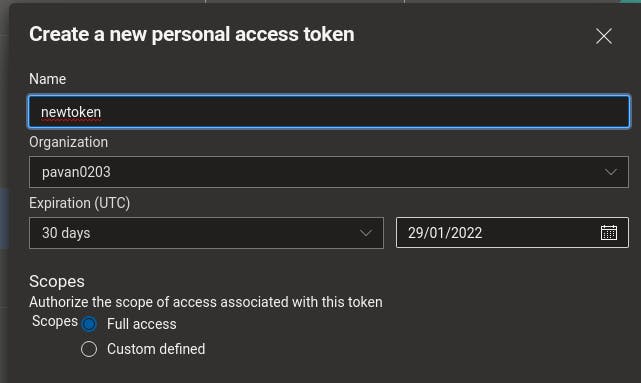
Give the token a name and Full access. You can choose your custom defined scope if you know what you wont be needing.
Create a New token. This token once disappeared cannot be retrieved later. So make sure you copy it just in case you need it later.

4. Final steps
Enter the Agent pool Name which is "newAgent" for me and a name for your Agent. R2D2 in my case.
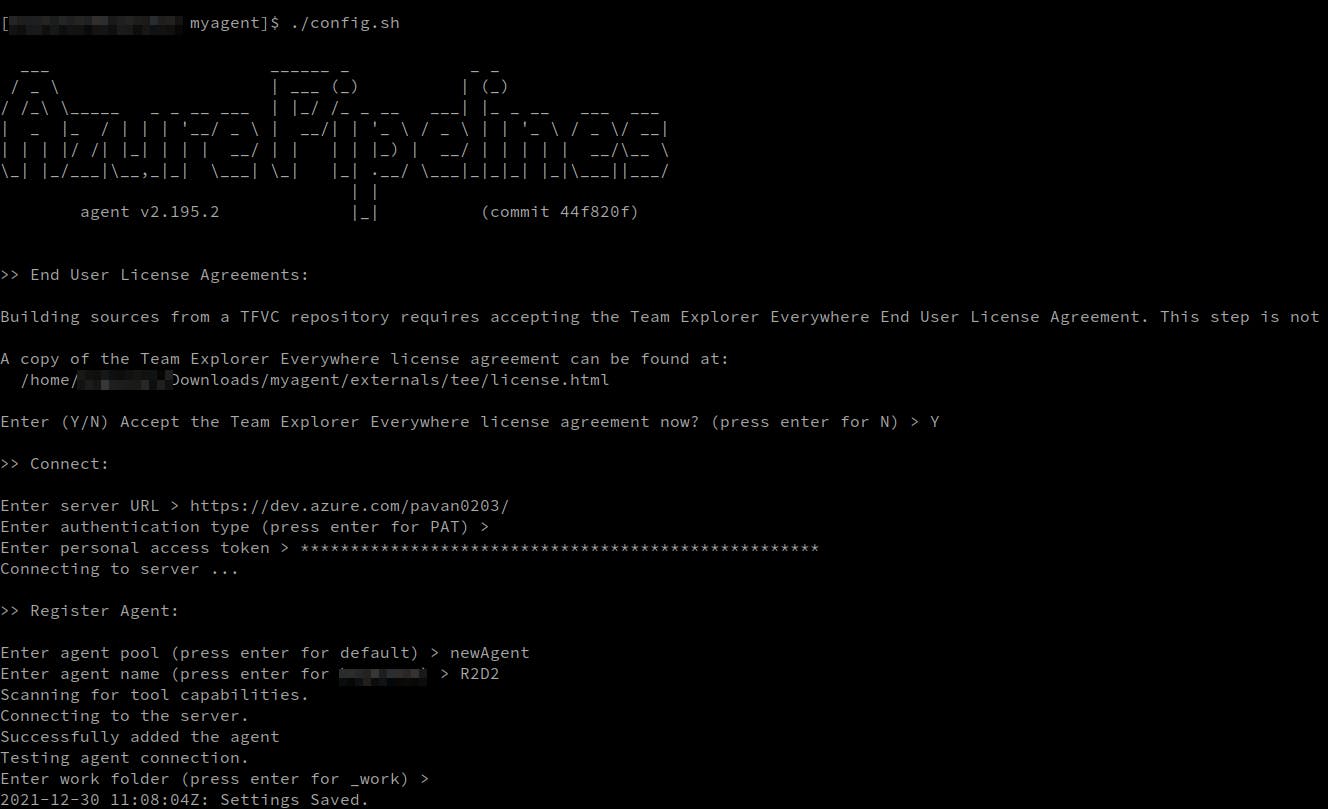
Next run ./run.sh

5. Enjoy!
Now check your Agents and there we have it, our new Agent up and running

Thank you for Reading you can find me on Twitter or read my blogs on Hashnode and Medium
