

In the last project we created a WordPress site with MySQL backend. The process was manual and is called as an Imperative method.
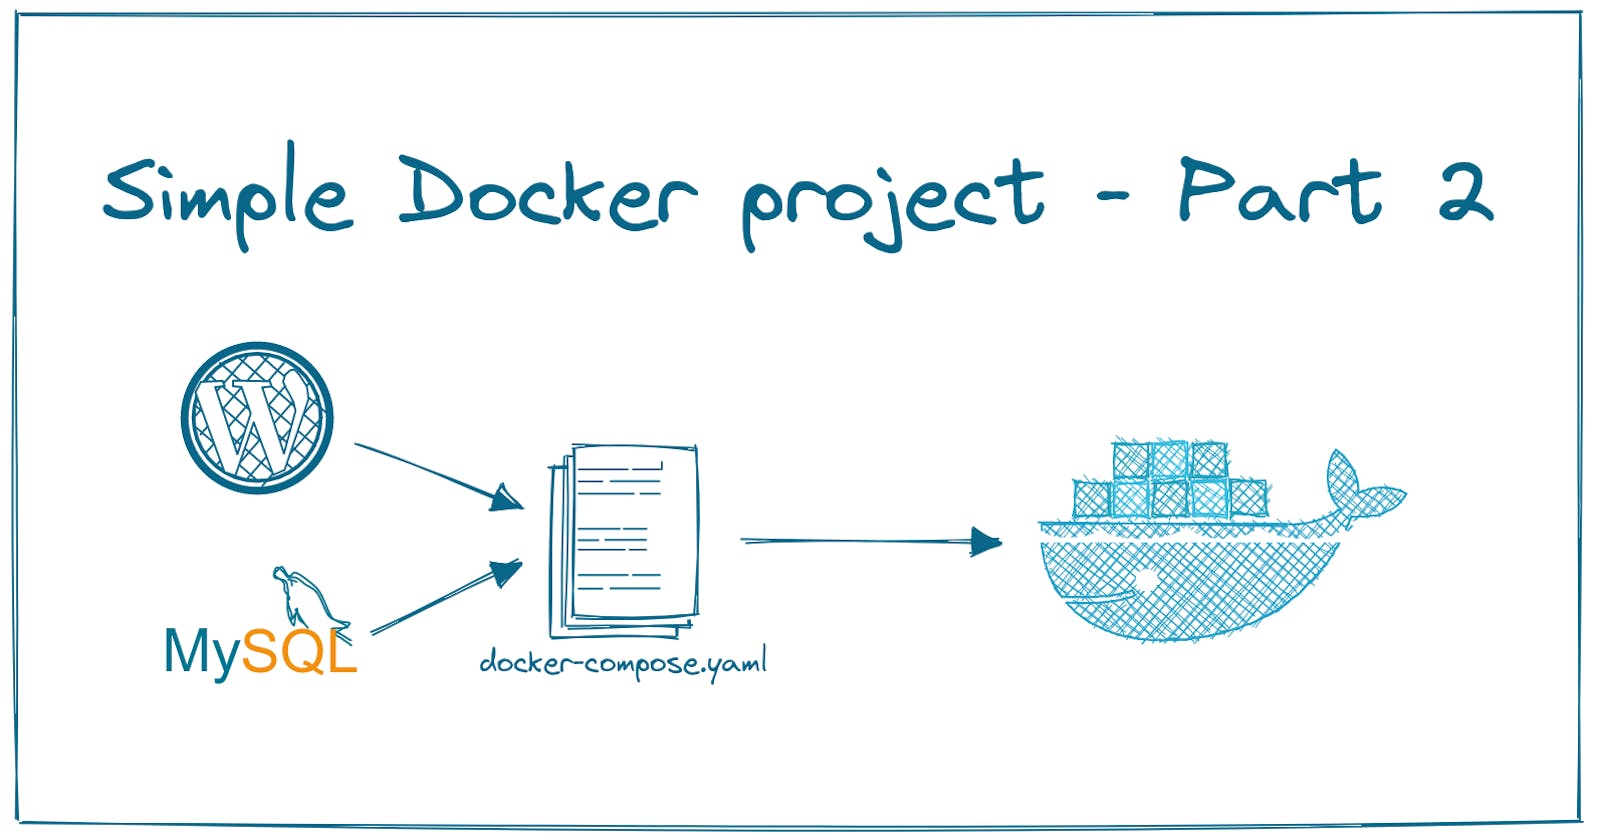
Now we will recreate the same project with the Declarative method. Using a YAML file we tell Docker Compose to create what we want and it takes care of the networking, volumes etc which we will explore as we go.
It is not necessary but if you haven't already check the Part 1 before you try this.
What will we use?
- Docker
- WordPress
- MySQL
- Docker Compose
Steps:
We create a YAML file and declare what we want.
Run the Docker Compose file and done!
Step 1:
Docker Compose could be installed when you installed Docker. If its not, use this guide
You can check the version using docker-compose --version
A Docker Compose file contains details about the services you want to run(images), the networks you want and the volumes to use. Simply put, it is a plan of your whole application, in this case our WordPress app.
Volume:
When you create a container, the data from this container is stored temporarily. If you shut down your system, stop the container, remove the container etc..this data is lost.
We use volumes to give Docker the access to store data from the container onto your host machine.
Part 1:
version: '3'
services:
  mysql:
    container_name: wp-backend
    image: "mysql:latest"
    volumes:
      - ./.mysql:/var/lib/mysql
    environment:
      MYSQL_DATABASE: wordpress
      MYSQL_ROOT_PASSWORD: "12345"
version - This is the Docker Compose file version. Other version details here.
services - This is where we declare the containers we want to start and details about them. We will have two services one for MySQL and other for Wordpress.
mysql - You can use this name represent our mysql service in other parts of the Compose file.
container_name - Give your container a name, this is used when the container is created.
image - Our Docker image (name:tag).
Part 2:
wordpress:
    container_name: wp-frontend
    image: "wordpress:latest"
    ports:
      - "8080:80"
    links:
      - mysql
    environment:
      WORDPRESS_DB_HOST: mysql
      WORDPRESS_DB_USER: root
      WORDPRESS_DB_PASSWORD: "12345"
      WORDPRESS_DB_NAME: wordpress
ports - We specify what port we want to be opened and mapped (External Port:Container port).
links - wordpress container should be linked to the mysql container, this creates the networks we need and adds these containers into it.
Every Image/Application has a different requirement. We can find it by looking at their Docker hub page or on the application website.
In this case WordPress wants you to give it the details of the Database where it can store data. These default values are our Environment variables.
Step 2:
When we combine both parts we get our final docker-compose.yaml file.
version: '3'
services:
  mysql:
    container_name: wp-backend
    image: "mysql:latest"
    volumes:
      - ./.mysql:/var/lib/mysql
    environment:
      MYSQL_DATABASE: wordpress
      MYSQL_ROOT_PASSWORD: "12345"

  wordpress:
    container_name: wp-frontend
    image: "wordpress:latest"
    ports:
      - "8080:80"
    links:
      - mysql
    environment:
      WORDPRESS_DB_HOST: mysql
      WORDPRESS_DB_USER: root
      WORDPRESS_DB_PASSWORD: "12345"
      WORDPRESS_DB_NAME: wordpress
Run docker-compose up to start the containers and see whats going on, alternatively you can use docker-compose up -d to start the services in detached mode.
To bring down your containers use CTRL+C or docker-compose down depending on how you ran docker compose.
If you are using a name other than docker-compose.yml/docker-compose.yaml, you should specify the file's name
docker-compose -f FileName.yaml upordocker-compose -f FileName.yaml up -dto run the containersdocker-compose -f FileName.yaml downto stop the containers.
That's it! A single Docker compose file does everything for you!
Take a look at Part 1 to complete the installation of WordPress.
Thank you for reading, you can find me on Twitter, read my blogs on Hashnode and Medium . Have a great time!!